
lMany of us still love vinyl. We have spent time and money to get the best turntable we could afford. Heavy plinths, platter, feet. Expensive tonearm and cartridges. And then belt, pulleys, dc motor, motor regulator supply, cables and on and on.
One day I went to a flea market and noticed a pretty bad condiction turntable but was different from usual consumer turntable. It was all metal with a heavy platter.
Ok ok it was really bad, actually they were, infact they were two. Probably they were a dj console. A fast web research showed a surprisingly high interest in this model, L75/S. Many people appreciate the speed stability of the player. This was of particular interest for me because, after my marriage ceased, my ex wife was permanently complianing about the ex my belt turntable stability. It was a very good player but it needed frequent speed check and small adjustments. For some people this is just too much.

As a hard core diy audio fan I surfed the web to learn more about the Lencos and how to get the best from them. Here I have to mention Lencoheaven site as a formidable informations source. There you can find many valuable advise about the old Lencos turntables, especially B55, L70, L75 and 78.
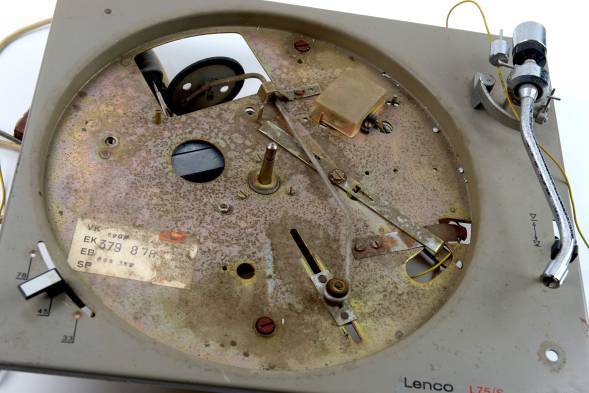
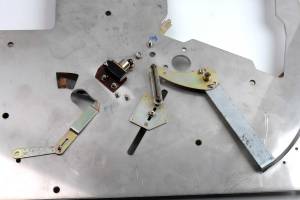
First thing to do with a turntable that probably has more the 40 years is clean and lubrification servicing. What a joy to disassemble this swiss player. Everything were screwed, almost. No plastics all metal parts.
At Lencoheaven you will find all the guide you need for maintenance.
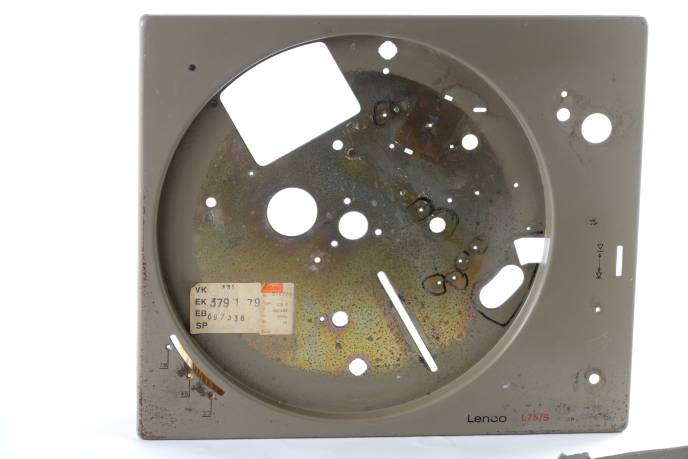
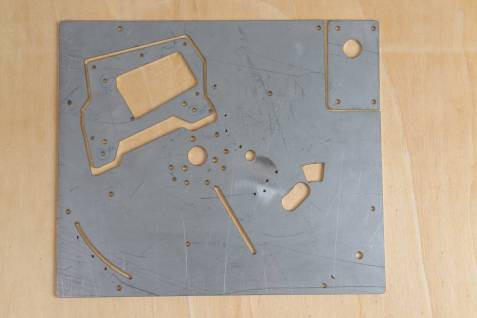
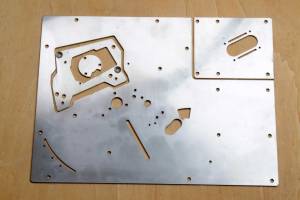
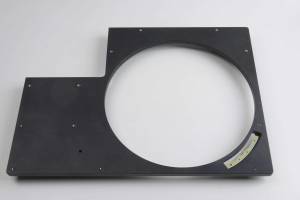
But the chassis !! I have to repaint it or… make a new one!! Someone has already done something like it. He has made different interpretation of chassis plus two substantial innovations. He used a thicker stainless base and motor / bearing decoupling.
Very appealing. But I liked so much the original layout that I wanted to try to remake it plus the innovations already mentioned. The challenge was to use as much Lenco’s components as possible including on/off switch, speed regulation and brake mechanism. The arm lifter was excluded by purpose. Speed regulation limited to 33 and 45 but with minor change it can cover 16 and 78 too,
The target was easy to say but to make it on paper with the right accuracy has been hours consuming. I collected all the informations available and after one test the second shot has played records since.
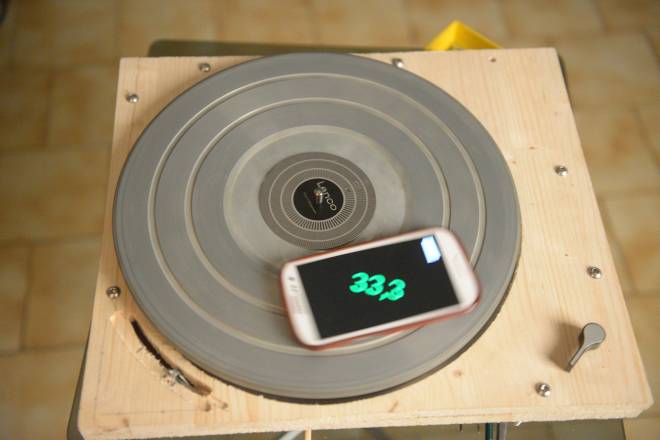
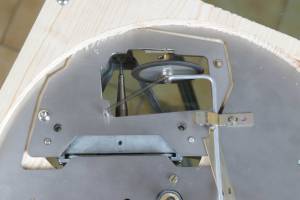
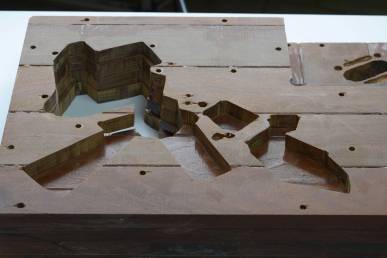
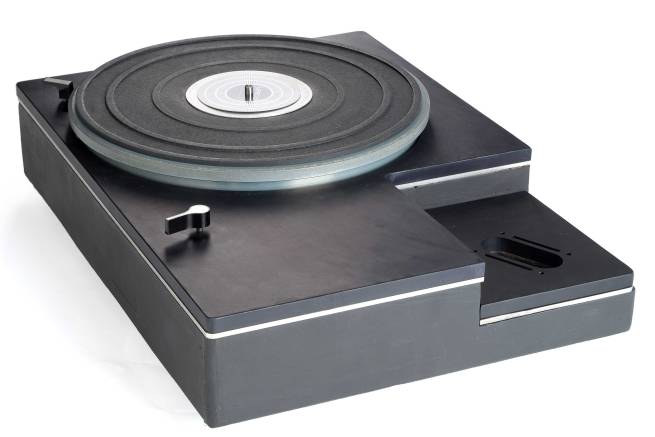
Here it was the prototype without plinth but with a temporary cover to ceck switch funcionality.
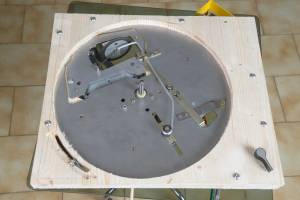
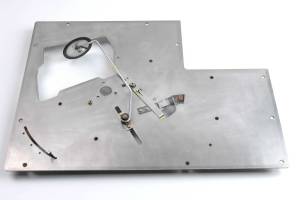
Now let’s have a look what’s underside:
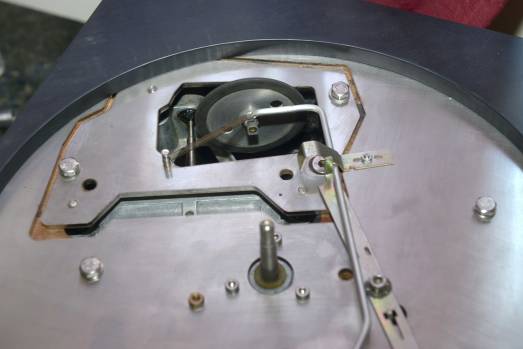
The idler wheel in working position and here in stop position
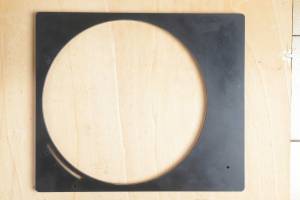
Now it’s time for the full dress, corian was chosen.

My collague , yes we are two, didn’t want arm hole because he is using it with a Sme 3012.
So why not do a Lenco L75 12inch version! plus some more ideas.
This time ipe´ wood was choose as plinth. That wood make a really heavy plinth.
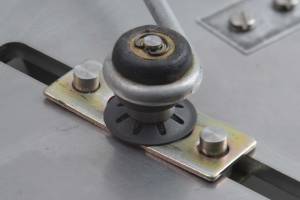
Now some stainless details Brake and arm switch
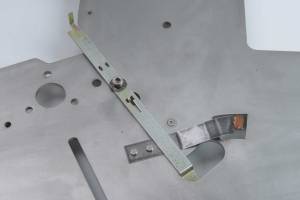
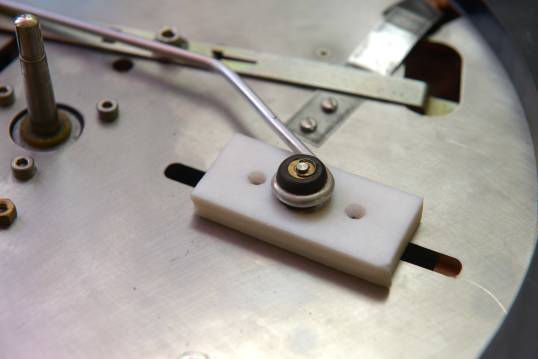
Underneath view with speed control lever Idler wheel and arm
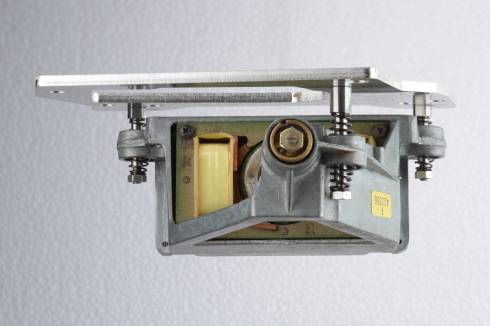
Now the motor island
The idler wheel in the rest position
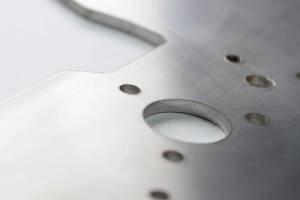
The cover is 12mm. thick alluminium
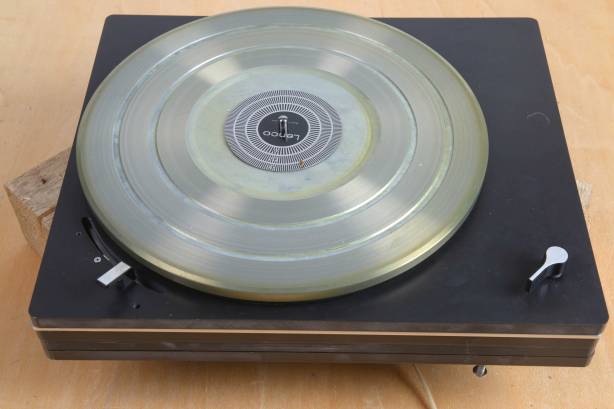
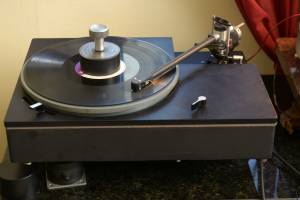
Finally the turntable mounted.
Please note the lower armboard in order to accept my tall tonearm.

This has been a really demanding project, the difficulties were not only to design the main boards but few stainless details that we had custom made from a lathe laboratory. That said once those parts are available all the rest is pretty easy job. The tool needed are screwdriver and wrench and few M3 and M4 screw. It is possible to go back anytime to the original Lenco frame. We compared it with standard L75 or heavy plinth L75 mount and we can say that Lencohell player paid off all the time we spent on it. We consider it a remarkable upgrade from ordinary Lenco project.
24/09/16 update.
Today we tried a new approach to the idler wheel arm and speed slider approach. It is undoubtetly true the more the arm is mechanically isolated from the main board the better. Lenco did this in a couple of way: throw an elastic washer,
or direct coupling with nothing betwen. Those works pretty well indded. Now came that I have a teflon sheet in hand, it is 4mm. thick so I have done few holes in it and I have reduced the center down to 1,5-2mm. This is how it looked before :
and this is the new approach:
We think this approach its worthwhile, doesn’t make night and day difference but you know, the stair goes to the top with many little step.
